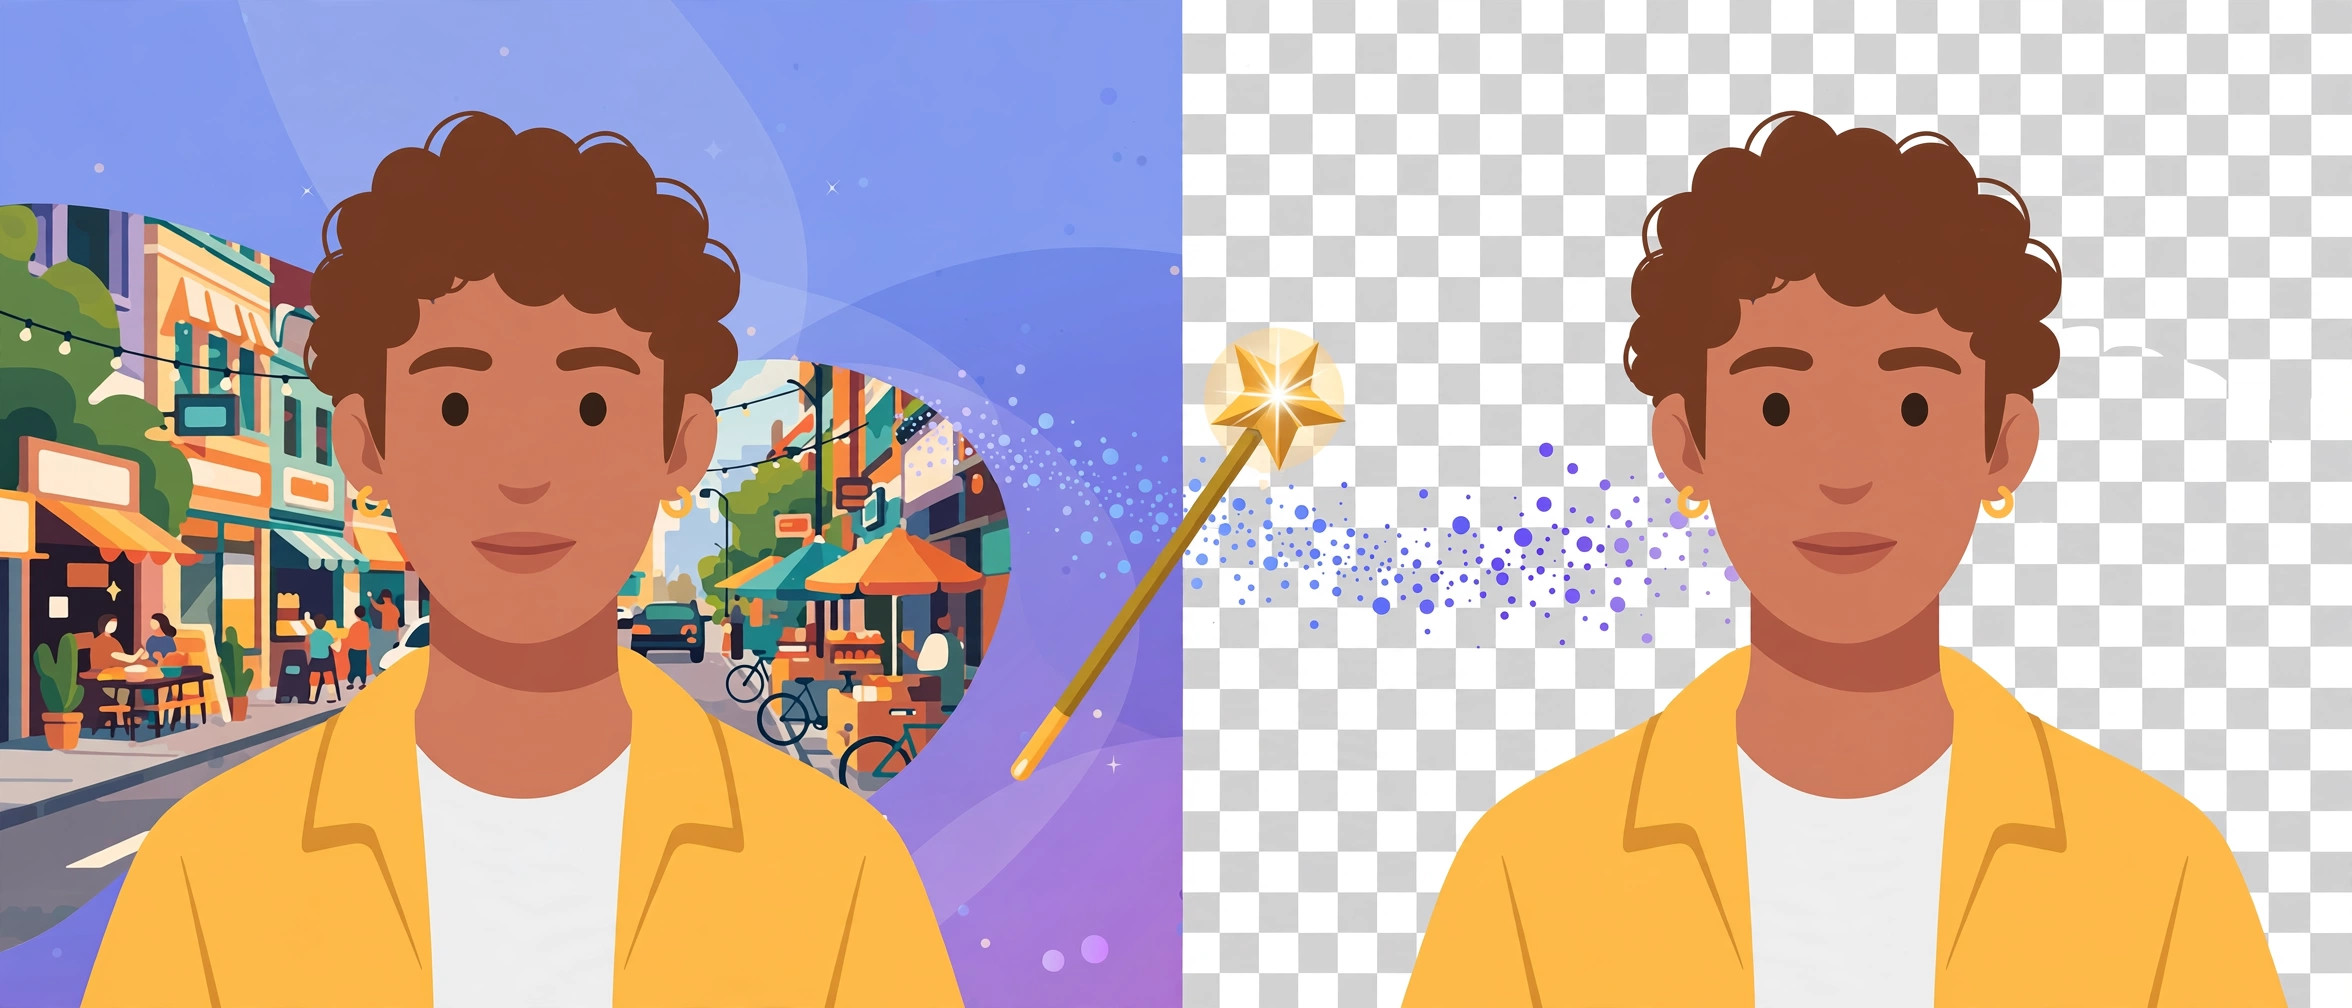
Remove any image background online for free with an AI background remover. Step-by-step guide, pro tips for clean cut-outs and PNG best practices.
A clean photo subject with no background is one of the most useful things you can have as a file. Product photos for a shop listing, a headshot for a profile, a logo mockup, a thumbnail, a sticker — in all of these, the background of the original photo is just noise. The problem is that cutting a subject out of a photo used to be genuinely skilled, time-consuming work: hours of careful edge tracing in desktop editing software.
That work has now been compressed into a single click. Modern AI background removers analyse the photo, detect the subject, and erase everything around it in seconds, right in your browser, for free. This guide explains how the technology works, walks you through removing a background step by step, and gives you practical tips for getting the cleanest possible cut-out — plus what to do with your transparent image once you have it.
What background removal actually does
Every digital photo is a rectangle of pixels. "Removing the background" means deciding, for every pixel in that rectangle, whether it belongs to the subject or to the background — and then deleting the background pixels (or making them transparent). The result is an image where the subject floats on nothing, conventionally shown as a grey-and-white checkerboard pattern.
Transparency is stored in the image's alpha channel, which is why background removal output is almost always delivered as a PNG: PNG supports transparency, while JPG does not. This is an important detail to remember — if you download your cut-out and then save it as a JPG, the transparency is gone and the empty areas turn solid white or black. Always keep transparent images as PNG (or WebP).
How AI background removers work
Traditional background removal was manual: a human traced the outline of the subject with selection tools, feathered the edges, and cleaned up stray pixels. AI background removers replace that labour with a trained image-segmentation model — the same family of computer vision technology used in portrait-mode phone cameras.
In plain terms, the model has been shown millions of photos of people, animals, products and other subjects, and has learned what a "subject" typically looks like: where faces are, how hair falls, the boundary between a person and the wall behind them. When you upload your photo, it produces a segmentation mask — a map of the image where each pixel gets a score for "this is the subject" versus "this is the background." Pixels above the threshold stay; everything else becomes transparent. Edges get special treatment with soft blending so hair and fur do not look like cardboard cut-outs.
The whole process runs on the image in seconds because it is a single pass of prediction, not iterative editing. It is genuinely impressive technology — and it is now available in free browser-based tools with no account needed.
When you actually need to remove a background
Background removal is one of those capabilities you will reach for more often than you expect. Common real-world uses include:
- E-commerce product photos: A product on a clean or branded background looks dramatically more professional than a product photographed on a kitchen table. Marketplaces like Amazon and eBay even require pure-white or transparent backgrounds for main product images.
- Profile pictures and headshots: Removing a cluttered room behind you instantly upgrades a profile photo.
- Thumbnails and social posts: A cut-out subject layered over bold colour or a pattern is the visual language of YouTube thumbnails and social graphics.
- Presentations and documents: Transparent PNGs of people and objects drop into slides and PDFs without the ugly white box.
- Stickers and memes: Transparent subjects are the raw material of sticker packs.
- Logo mockups and design comps: Place a cut-out product into a scene to preview packaging or advertising layouts.
How to remove an image background online for free
Here is the full process using a free browser-based AI background remover. It takes about a minute, end to end:
- Open the background remover. The tool runs entirely in your browser — there is nothing to install and no account to create.
- Upload your photo. Click the upload area and choose a JPG, PNG or WEBP file from your device. Higher-resolution originals give the model more detail to work with, so use the largest version you have.
- Wait a few seconds. The AI analyses the image and separates the subject from the background automatically. You do not need to click anything or draw any outlines.
- Preview the result. Check the cut-out at full size. Zoom into edges — hair, glasses frames, fingers, pet fur — these are the areas where any model can struggle, so give them a careful look.
- Download the transparent PNG. Save the result as a PNG file so the transparency is preserved. Do not convert it to JPG unless you are deliberately flattening it onto a background.
That is the entire workflow. No subscription, no watermark, no "free trial" that quietly asks for a card later — the tool is free to use, and your image never needs to leave your browser to be processed.
Tips for getting the cleanest cut-out
AI segmentation is very good, but it is not magic. The quality of your result depends heavily on the quality of your input photo. These tips make a measurable difference:
- Use high contrast between subject and background. A dark-haired person against a light wall segments far more cleanly than a dark-haired person against dark curtains. If you are taking the photo specifically to cut it out, stand in front of the plainest, most contrasting background available.
- Avoid busy backgrounds. Cluttered rooms, crowds, fences and foliage behind the subject create edges the model has to guess at. Simpler is always better.
- Mind the edges of hair and fur. Fine hair against a similar-coloured background is the hardest case for every background remover on the market. Bright, even lighting on the subject helps enormously.
- Keep the subject fully in frame. If a hand, foot or ear is cropped by the photo edge, the model cannot know what is missing — and the cut-out will inherit the awkward crop.
- Watch for transparent and reflective objects. Glasses, clear plastic, mirrors and shiny metal confuse segmentation because they literally show the background through or on them. Results on these are often imperfect; inspect closely.
- Straighten before you cut. If the photo is tilted, rotate and crop it first. The model works on the pixels it is given, so fixing the photo first means a cleaner result.
Common mistakes to avoid
- Saving the result as JPG. The single most common mistake. JPG has no alpha channel, so your careful transparency is destroyed the moment you convert. Keep transparent images as PNG.
- Upscaling a tiny cut-out. A 400-pixel cut-out will not become a crisp 2000-pixel asset by enlarging it. Start from the highest-resolution source photo you can.
- Using a cut-out with a dirty edge. If the model left a halo of the old background around hair, zoom in and check. A quick pass with a feathered eraser on the halo is worth the 30 seconds.
- Forgetting to compress before uploading. Transparent PNGs can be large. If your cut-out is going on a website, run it through an image compressor afterwards — smaller files load faster and rank better.
- Assuming one tool fits every photo. Portraits, products and animals are the easy cases. Photos with multiple overlapping people, or subjects that blend into the background, are hard for every tool. Try a different, better-lit photo rather than fighting a bad one.
What to do with your transparent PNG
A cut-out is rarely the final product — it is an ingredient. Typical next steps:
- Composite it onto a new background. Place the subject over a brand colour, a gradient, or a scene. This is how product shots and thumbnails are made.
- Resize it for its destination. A cut-out destined for a website favicon-sized avatar does not need to be 4000 pixels wide. An image resizer trims the dimensions to exactly what the destination needs.
- Compress it for the web. Transparent PNGs are heavy; compression keeps quality while cutting file size dramatically, which matters for page speed and SEO.
- Build graphics from it. Drop the subject into a poster, a social post, a slide deck, or a sticker sheet. Because the background is transparent, it blends into anything.
Background removal vs the old manual way
It is worth appreciating how far this has come. The manual alternative — lasso tools, pen-tool paths, channel-based masking in desktop software — takes a skilled editor anywhere from ten minutes to an hour per photo, and the learning curve is steep. AI segmentation does in seconds what used to be billed by the hour, and for the common cases (a person against a normal background, a product on a table) the quality is genuinely comparable.
Where manual work still wins: ultra-fine detail like wedding-veil lace, motion blur, and subjects photographed through glass. For everything else, the free AI route is faster, cheaper, and usually just as good.
Frequently asked questions
Is the AI background remover really free? Yes. The tool at WebTaskTools is free to use with no account, no signup and no watermark on your downloads.
What image formats can I upload? JPG, PNG and WEBP are accepted. The download is a transparent PNG, which preserves the alpha channel.
Does my photo get uploaded to a server? The tool processes your image in your browser, so your photo does not need to be sent anywhere to be cut out.
Why does the cut-out have a white edge or halo? That is a fringe of the original background left around the subject, most common with hair and light-coloured backgrounds. It usually means the source photo had low contrast at the edge. Re-shooting against a contrasting background is the most reliable fix.
Can it remove backgrounds from photos of pets? Yes — animals are one of the standard subject types the model is trained on. Fur edges are the hardest part, so a well-lit photo with a simple background gives the best result.
Can I remove the background from a whole batch of photos? The tool processes one image at a time. For a product catalogue, work through your photos one by one — each takes only seconds.
What resolution should my photo be? Use the highest resolution available. The model needs pixel detail to draw clean edges, and you can always shrink the result afterwards.
The bottom line
Background removal went from a professional editing skill to a one-click browser operation — and the free tools are good enough that most people will never need anything else. Upload a decent photo to a free AI background remover, download the transparent PNG, and you have a professional-grade asset in under a minute. Keep it as PNG, compress it before it goes on the web, and resize it to its destination. That small workflow — cut out, compress, resize — covers nearly every background-removal job you will ever have, and all three steps are free, right in your browser.
PNG vs WebP for transparent images
Both PNG and WebP support transparency, and both are worth knowing about. PNG is the universal standard: it works everywhere, every editor and browser reads it, and it is lossless. Its only real downside is file size — transparent PNGs, especially large ones, can be several megabytes.
WebP is the modern alternative: it supports transparency too, and typically produces files 25-35% smaller than an equivalent PNG with no visible quality loss. The trade-off is compatibility — WebP is supported by all modern browsers, but some older desktop software still cannot open it.
A practical rule: keep your master cut-out as a PNG for maximum compatibility, and serve WebP versions on websites where file size affects page speed. If you need to convert between them, free online converters handle it in seconds.
Photographing with background removal in mind
If you control the shoot, you can make the AI's job almost trivially easy:
- Shoot against a solid, contrasting backdrop — a white wall for dark subjects, a dark sheet for light subjects.
- Light the subject evenly so edges are crisp and shadows do not merge the subject into the background.
- Leave space around the subject; do not crop limbs at the frame edge.
- Use the highest resolution your camera or phone offers.
A photo taken with these four rules will cut out cleanly on the first pass, nearly every time. A photo taken against a cluttered, same-coloured background may never cut out perfectly no matter how good the tool is. The camera work matters more than the software.